

There’s something about a stone fireplace that instantly makes a room feel like home. Maybe it’s the texture, the warmth, or the way it turns a plain wall into the focal point everyone gravitates toward. If you’ve ever stood in a living room with a beautifully finished stone hearth and thought, “I want that,” you’re not alone — and the good news is, stone fireplace construction is far more achievable as a DIY or semi-DIY project than most homeowners realize.
This guide walks through everything from planning and framing to the actual stone installation, so you can go from a plain drywall box to a showpiece fireplace without hiring a full renovation crew. Whether you’re starting from scratch or upgrading an existing fireplace surround, understanding the right order of operations will save you time, money, and a fair number of headaches.
Why Stone Fireplace Construction Is Worth the Effort
A fireplace does more than heat a room — it anchors the whole design of a space. Real estate agents consistently point to updated fireplaces as one of the details buyers notice first when walking into a living room, and it’s easy to see why. Stone brings texture, permanence, and a sense of craftsmanship that paint or tile simply can’t replicate.
But beyond aesthetics, building a stone fireplace correctly also matters for safety and durability. Fireplaces sit near open flame or heat-producing inserts, so the materials behind the stone need to handle heat, moisture, and weight without failing over time. That’s why so much of this process is really about what happens before a single stone goes up.
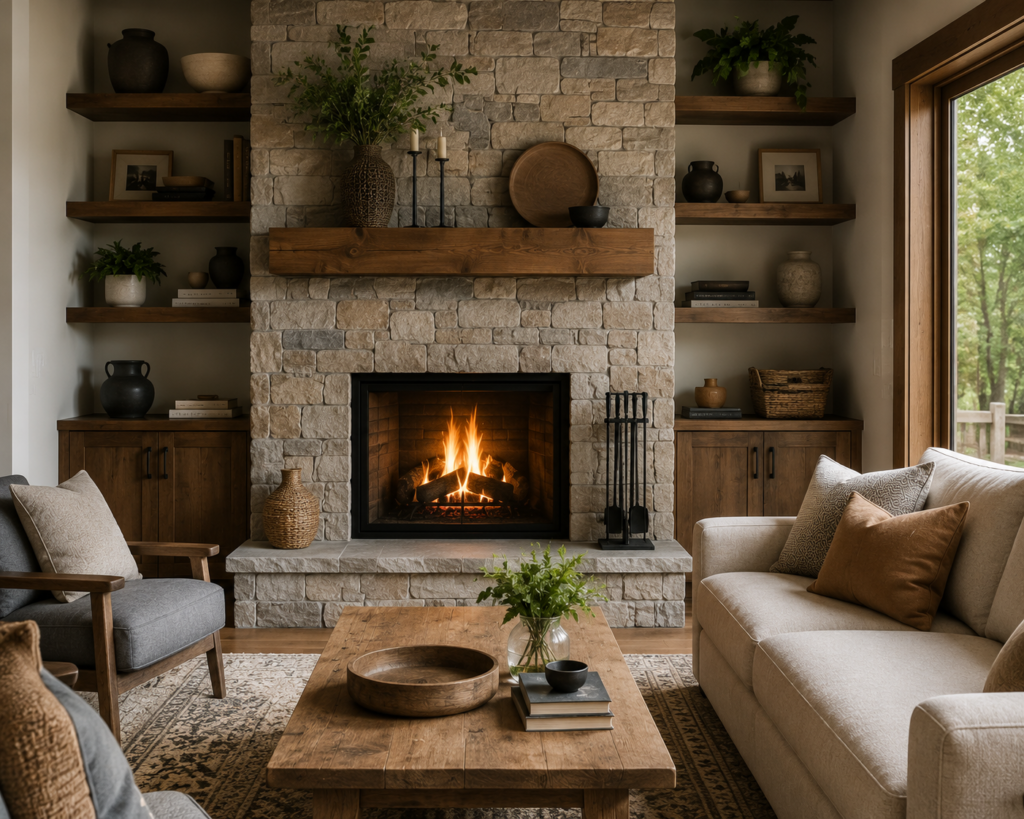
Stone fireplace living room design
Let’s break the project into the stages that actually matter: planning, framing, surface prep, and the stone installation itself.
Planning Before You Begin Building a Stone Fireplace
Before you buy a single bag of mortar, take time to plan the structure. Rushing into building stone fireplace projects without a plan is the number one reason DIY attempts go sideways.
Structural Considerations
Natural stone is heavy — often 10 to 15 pounds per square foot once installed with mortar. Manufactured stone veneer is lighter, typically 6 to 8 pounds per square foot, which is why most building codes allow it to be installed without additional structural support in residential settings. Before you commit, check:
- Whether your fireplace wall can bear the additional weight
- Local building codes for clearance from combustible materials
- Manufacturer specifications for your chosen stone product
- Whether a permit is required in your area
Choosing Between Natural Stone and Manufactured Veneer
Natural stone offers unmatched authenticity, but it costs more, weighs more, and often requires a mason for proper installation. Manufactured stone veneer, made from cement, aggregate, and iron oxide pigments, mimics the look of natural stone at a fraction of the weight and cost — and it’s the material most homeowners choose when adding stone to fireplace surfaces themselves.
How to Frame a Fireplace for Stone
If you’re working with an existing drywall fireplace surround, or building one from the ground up, framing is the foundation everything else depends on.
Learning how to frame a fireplace for stone starts with understanding what the stone needs to attach to. Stone veneer can’t be applied directly over drywall — it needs a rigid, moisture-resistant substrate that can hold mechanical fasteners and mortar.
Plywood Fireplace Base vs. Standard Framing
Many contractors build out the fireplace chase using standard 2×4 framing, then sheath it with plywood before adding cement board on top. A plywood fireplace base gives you a solid nailing surface and helps square up any irregularities in the wall before the cement board goes on. If your fireplace wall is already framed and drywalled, you’ll typically remove the drywall down to the studs in the areas being stoned, then rebuild the surface properly.
Tools and Materials Needed
For a typical framing and prep job, you’ll want:
- 2×4 lumber (if building out a new chase or hearth extension)
- 1/2-inch exterior-grade plywood
- Cement backer board (1/2-inch is standard for vertical applications)
- Galvanized or stainless screws (avoid regular drywall screws, which corrode)
- A level, stud finder, and circular saw
- Metal lath (for mortar-set stone applications)
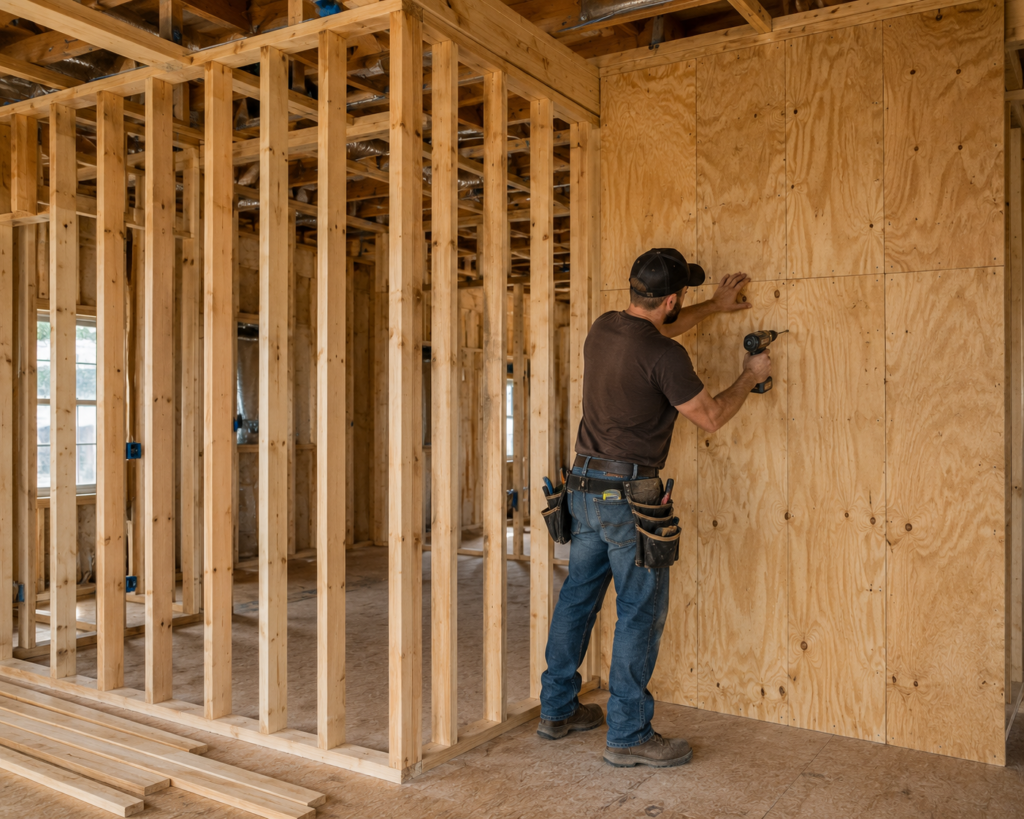
Framing wall studs and plywood construction
Drywall or Cement Board Around Fireplace: Which Is Right?
This is one of the most common questions homeowners ask before starting a project, and it’s an important one. The debate over drywall or cement board around fireplace installations comes down to moisture resistance and structural integrity.
Drywall is not designed to handle the moisture in wet-set mortar or the ongoing heat cycling near a firebox. Over time, drywall behind stone can absorb moisture, weaken, and eventually cause the stone to loosen or crack. Cement board, on the other hand, is specifically engineered for wet applications like tile and stone. It won’t degrade from mortar moisture, and it gives fasteners and mortar something durable to grip.
Why Cement Board Wins for Stone Installation
For any fireplace stone installation, cement backer board is the industry-recommended substrate, particularly:
- Around the firebox opening, where heat exposure is highest
- On any surface using a wet-set (mortar) method
- In humid climates where moisture retention is a concern
Some manufactured stone products designed for adhesive-only installation can technically go over moisture-resistant drywall in low-heat zones, but most professionals still recommend cement board as the safer, longer-lasting choice — especially if you plan to sell your home eventually and want the work to hold up under inspection.
Preparing the Substrate
Once cement board is up, tape the seams with fiberglass mesh tape and thinset mortar, just as you would for tile. This creates a continuous, water-resistant surface for the next stage.
Step-by-Step: How to Stone a Fireplace
Now for the part everyone’s been waiting for — actually how to stone a fireplace. There are two primary methods: the traditional mortar-set method and the newer adhesive/panel method. Both are valid, but they suit different skill levels and stone types.
Step 1: Dry-Fit Your Layout
Before mixing any mortar, lay your stones out on the floor or a table in the pattern you want. This lets you balance color, size, and shape distribution so the finished wall doesn’t look repetitive. Most manufactured stone comes in multiple sizes specifically so you can stagger them naturally.
Step 2: Apply the Scratch Coat (Mortar Method)
For natural stone or heavier manufactured veneer, apply a scratch coat of mortar over the cement board and metal lath, then score it with a notched trowel while wet. This gives the setting mortar something to bond to mechanically, not just adhesively.
Step 3: Installing Stone on Fireplace Surfaces
Whether you’re installing stone on fireplace walls with mortar or panel adhesive, work from the bottom up and from the corners inward. Corner pieces (which have a finished edge on two sides) go first, alternating long and short legs to create a natural, interlocking look. Press each piece firmly and use a slight twisting motion to seat it into the mortar bed, then immediately clean excess mortar off the face before it dries.
For those wondering how to add stone to fireplace surfaces using lightweight adhesive panels instead of loose stones, the process is similar but faster: panels are pre-arranged sections of stone that install with construction adhesive and mechanical fasteners, cutting installation time significantly compared to piece-by-piece mortar work.
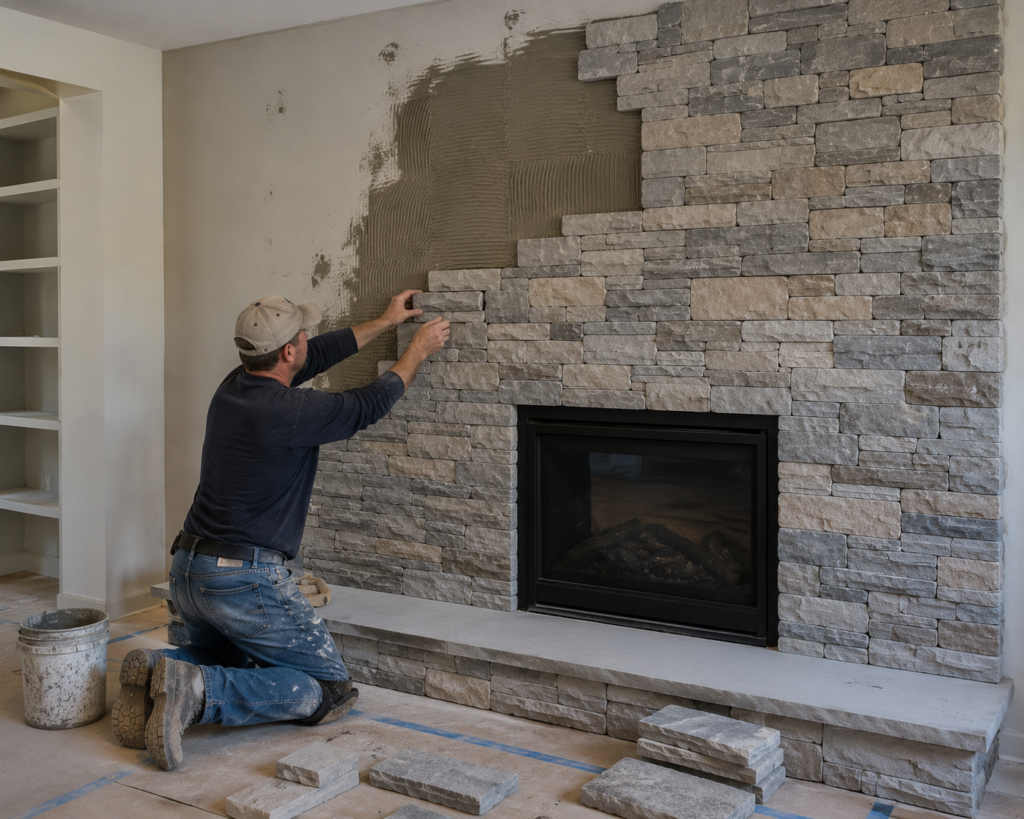
Stone veneer installation on fireplace wall
Step 4: Grouting and Finishing
Once the stone has cured for at least 24–48 hours, apply grout (or “mortar wash,” for a more rustic look) between the joints using a grout bag to avoid smearing the stone face. Brush away excess once it firms up but before it fully hardens. This step is what really finishes the stoning a fireplace project — clean, consistent joints make the difference between an amateur look and a professional one.
Install Mantel Before or After Stone Veneer?
This question comes up constantly, and the answer depends on your mantel style. As a general rule, most professionals recommend installing the mantel after the stone veneer, not before.
Here’s why: if you install the mantel first, the stone has to be cut and fitted precisely around it, which is far more difficult and prone to gaps. Installing the mantel after the stone means you can:
- Mount the mantel using heavy-duty brackets anchored into the framing behind the stone
- Achieve a cleaner, tighter fit against the stone surface
- Adjust mantel height and position more flexibly
The exception is floating mantels or mantels designed to be embedded directly into the stone with mortar — in those cases, some builders set anchor bolts into the wall structure before stoning, then slide the stone around the pre-placed hardware. If you’re unsure which approach fits your design, it’s worth checking your mantel manufacturer’s installation instructions, since bracket types vary.
Common Mistakes When Adding Stone to a Fireplace
Even straightforward projects can go wrong in predictable ways. Here are the mistakes that show up most often:
- Skipping the moisture barrier — Installing cement board directly over exposed framing without a weather-resistant barrier can trap moisture behind the stone.
- Ignoring weight limits — Attempting how to build stone fireplace surrounds using heavy natural stone on walls not rated to support it.
- Rushing the layout — Not dry-fitting stones first, resulting in awkward color clumping or repeated shapes.
- Poor mortar cleanup — Letting excess mortar dry on the stone face, which is far harder to remove once cured.
- Wrong fastener choice — Using standard screws that rust and stain the stone over time instead of corrosion-resistant hardware.
- Improper clearance to combustibles — Not following manufacturer or code-required clearances around the firebox opening.
Avoiding these issues is less about skill and more about patience — most failed stone installations trace back to skipped steps rather than bad technique.
Cost, Time, and Maintenance Considerations
For a typical DIY stone fireplace construction project using manufactured veneer, most homeowners can expect:
- Material costs: roughly $8–$15 per square foot for manufactured stone, versus $15–$30+ per square foot for natural stone
- Time investment: a weekend for framing and substrate prep, plus another 1–2 days for the actual stone installation on an average-sized fireplace wall
- Maintenance: manufactured stone requires little more than occasional dusting; natural stone may benefit from periodic sealing, particularly porous types like limestone or sandstone
Professional installation costs vary widely by region and stone type, but labor alone often runs $25–$50 per square foot, which is a major reason so many homeowners take on this project themselves.
FAQ Section
Do I need a professional for stone fireplace construction, or can I DIY it?
Many homeowners successfully complete manufactured stone veneer installations themselves, especially with lightweight panel systems. Natural stone, heavier applications, or anything involving structural changes near a firebox may benefit from professional input, particularly for code compliance.
Can I put stone directly over drywall?
It’s not recommended. Drywall isn’t moisture-resistant enough to reliably support mortar or long-term stone weight. Cement backer board is the standard substrate for any wet-set or adhesive stone application.
How long does it take to complete a stone fireplace project?
For an average living room fireplace, expect roughly 3–5 days total, including framing, substrate prep, stone installation, and grouting, with drying time factored in between stages.
What’s the difference between natural stone and manufactured stone veneer?
Natural stone is quarried and cut to size, offering unique texture and weight but at a higher material and labor cost. Manufactured veneer is molded from concrete and pigments to mimic natural stone’s look while being significantly lighter and easier to install.
Should the mantel go up before or after the stone?
In most cases, install the mantel after the stone veneer is complete, since it allows for a tighter fit and easier mounting into the framing behind the finished stone surface.
How do I know if my wall can support the weight of stone?
Check the weight rating of your chosen stone product against your wall’s framing and any local code requirements. A structural engineer or contractor can confirm load capacity for heavier natural stone applications.
Can stone veneer be installed around a gas fireplace insert?
Yes, but clearance requirements around gas inserts are strict and vary by manufacturer. Always check the insert’s installation manual for required clearances to combustible and non-combustible materials before installing stone.
What tools are essential for installing stone around a fireplace?
At minimum, you’ll need a notched trowel, mixing bucket, level, stone saw or wet saw for cuts, grout bag, and basic safety gear like gloves and eye protection.
Conclusion
A stone fireplace doesn’t happen overnight, but it’s one of those projects where the effort truly shows in the final result. Getting the framing right, choosing cement board over drywall, and taking time with the stone layout are the details that separate a fireplace that looks store-bought from one that looks like it’s always belonged in your home. Whether you’re tackling the whole project yourself or handling the finish work after a contractor frames things out, understanding each stage gives you the confidence to make good decisions along the way — and a fireplace you’ll actually be proud to sit in front of for years to come.